Elephantastic markers
Hello again, and sorry for the long hiatus. It’s been nearly two and a half years since I last updated this blog. Sorry to the few loyal followers I have/had, but life happened and things escalated and the blog ended up in the big space waaaay back in my brain where lost thoughts so to die.
Then, yesterday I suddenly thought of it again, even if indirectly. You see, at my kindergarten we have have a few students working with us at the time, and during a conversation about projects we’ve done with kids I remembered my train-montage and went online looking for it… Ending here.
Last night I ended up thinking a lot about the blog and decided to give it another go. I don’t know how often I’ll post or how regularly, but I’ll give it a whirl.
A while ago a good friend of mine introduced me to some Shinhan Touch markers. I liked then so well that I bought a set of their Touch Brush markers. They are rather similiar to Copic markers in that they have abrush-like tip on one end and a chisel tip at the other end.
I’ve played a little around with them, but nothing serious. So when a girl at my kindergarten asked for a birthday crown with an elephant on it I decided to give it a serious test.
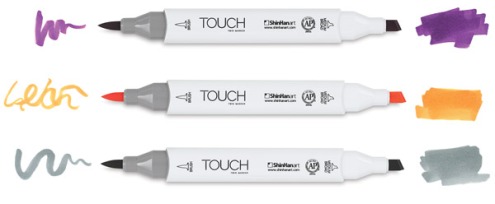
I started by findin a picture of an elephant to use as a reference. I then lightly sketched the basic shapes with an HB pencil and started filling it out with a light shade of cool gray. I then went over with gradually darker shades of warm gray to build up the values.
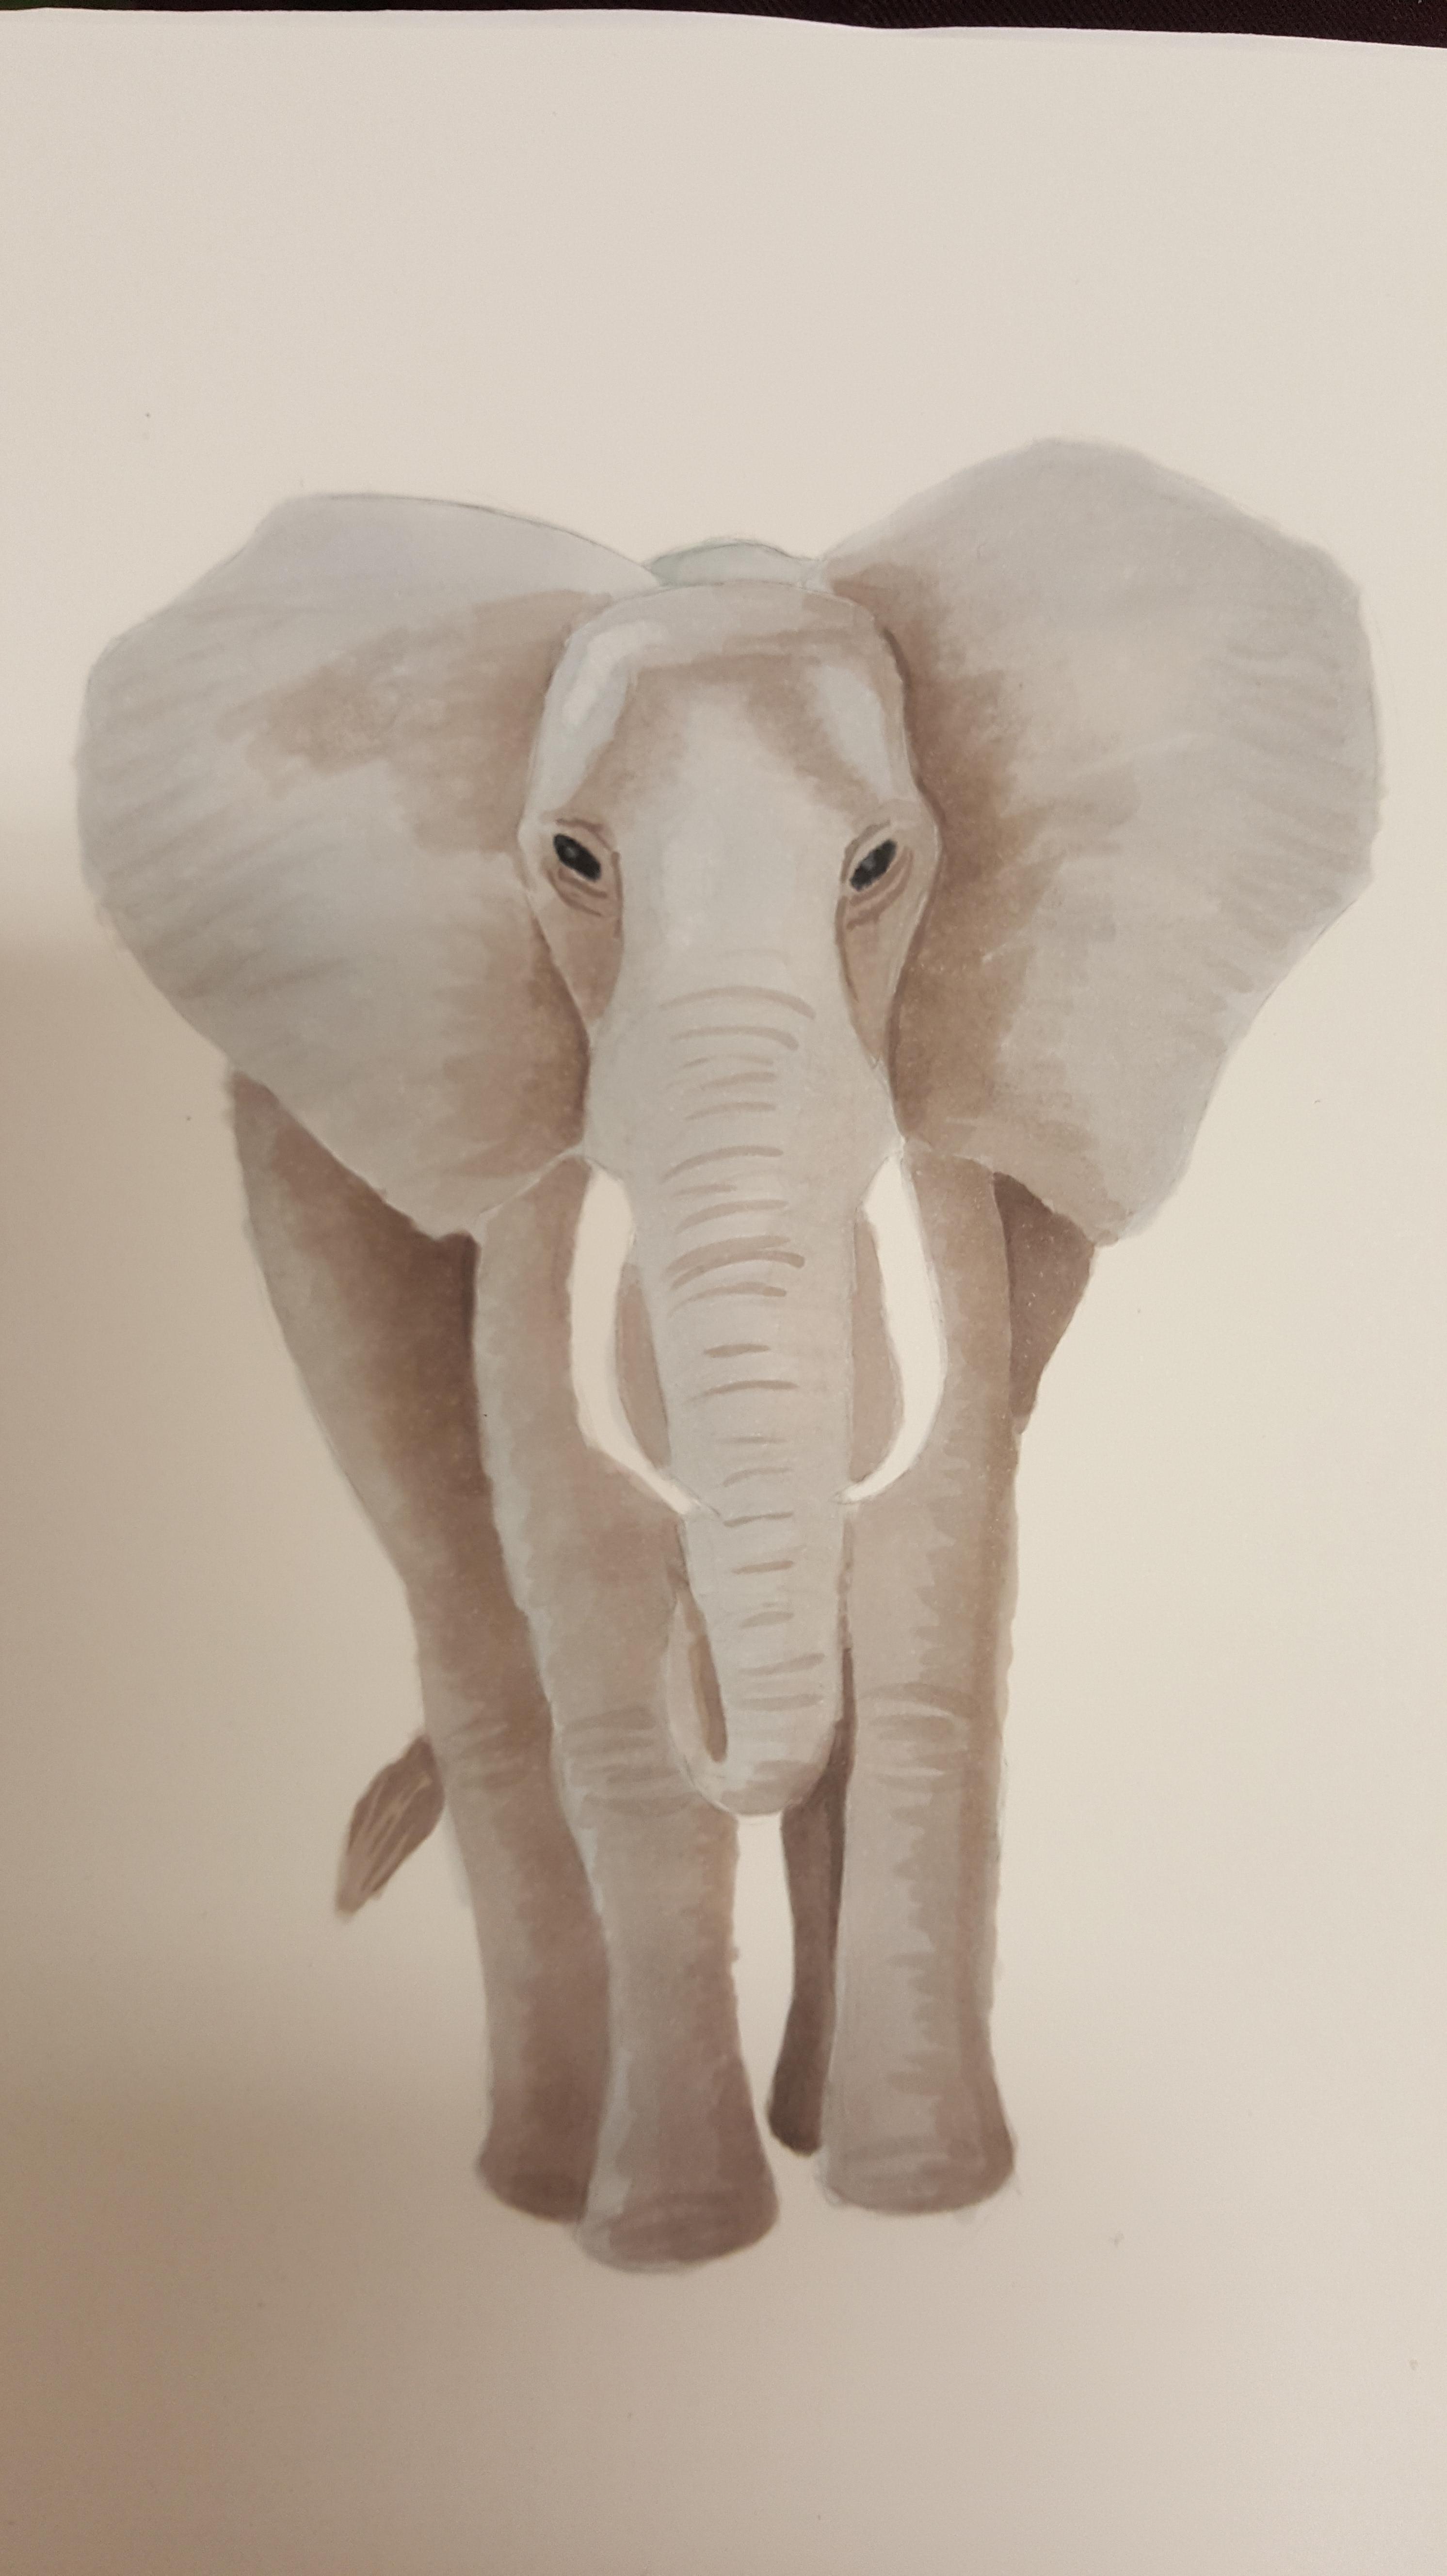
As the image grew darker and got more contrast I started using a very thin fineliner to add some details and create some transitions. I then used a set of sharp scissors to cut it out.
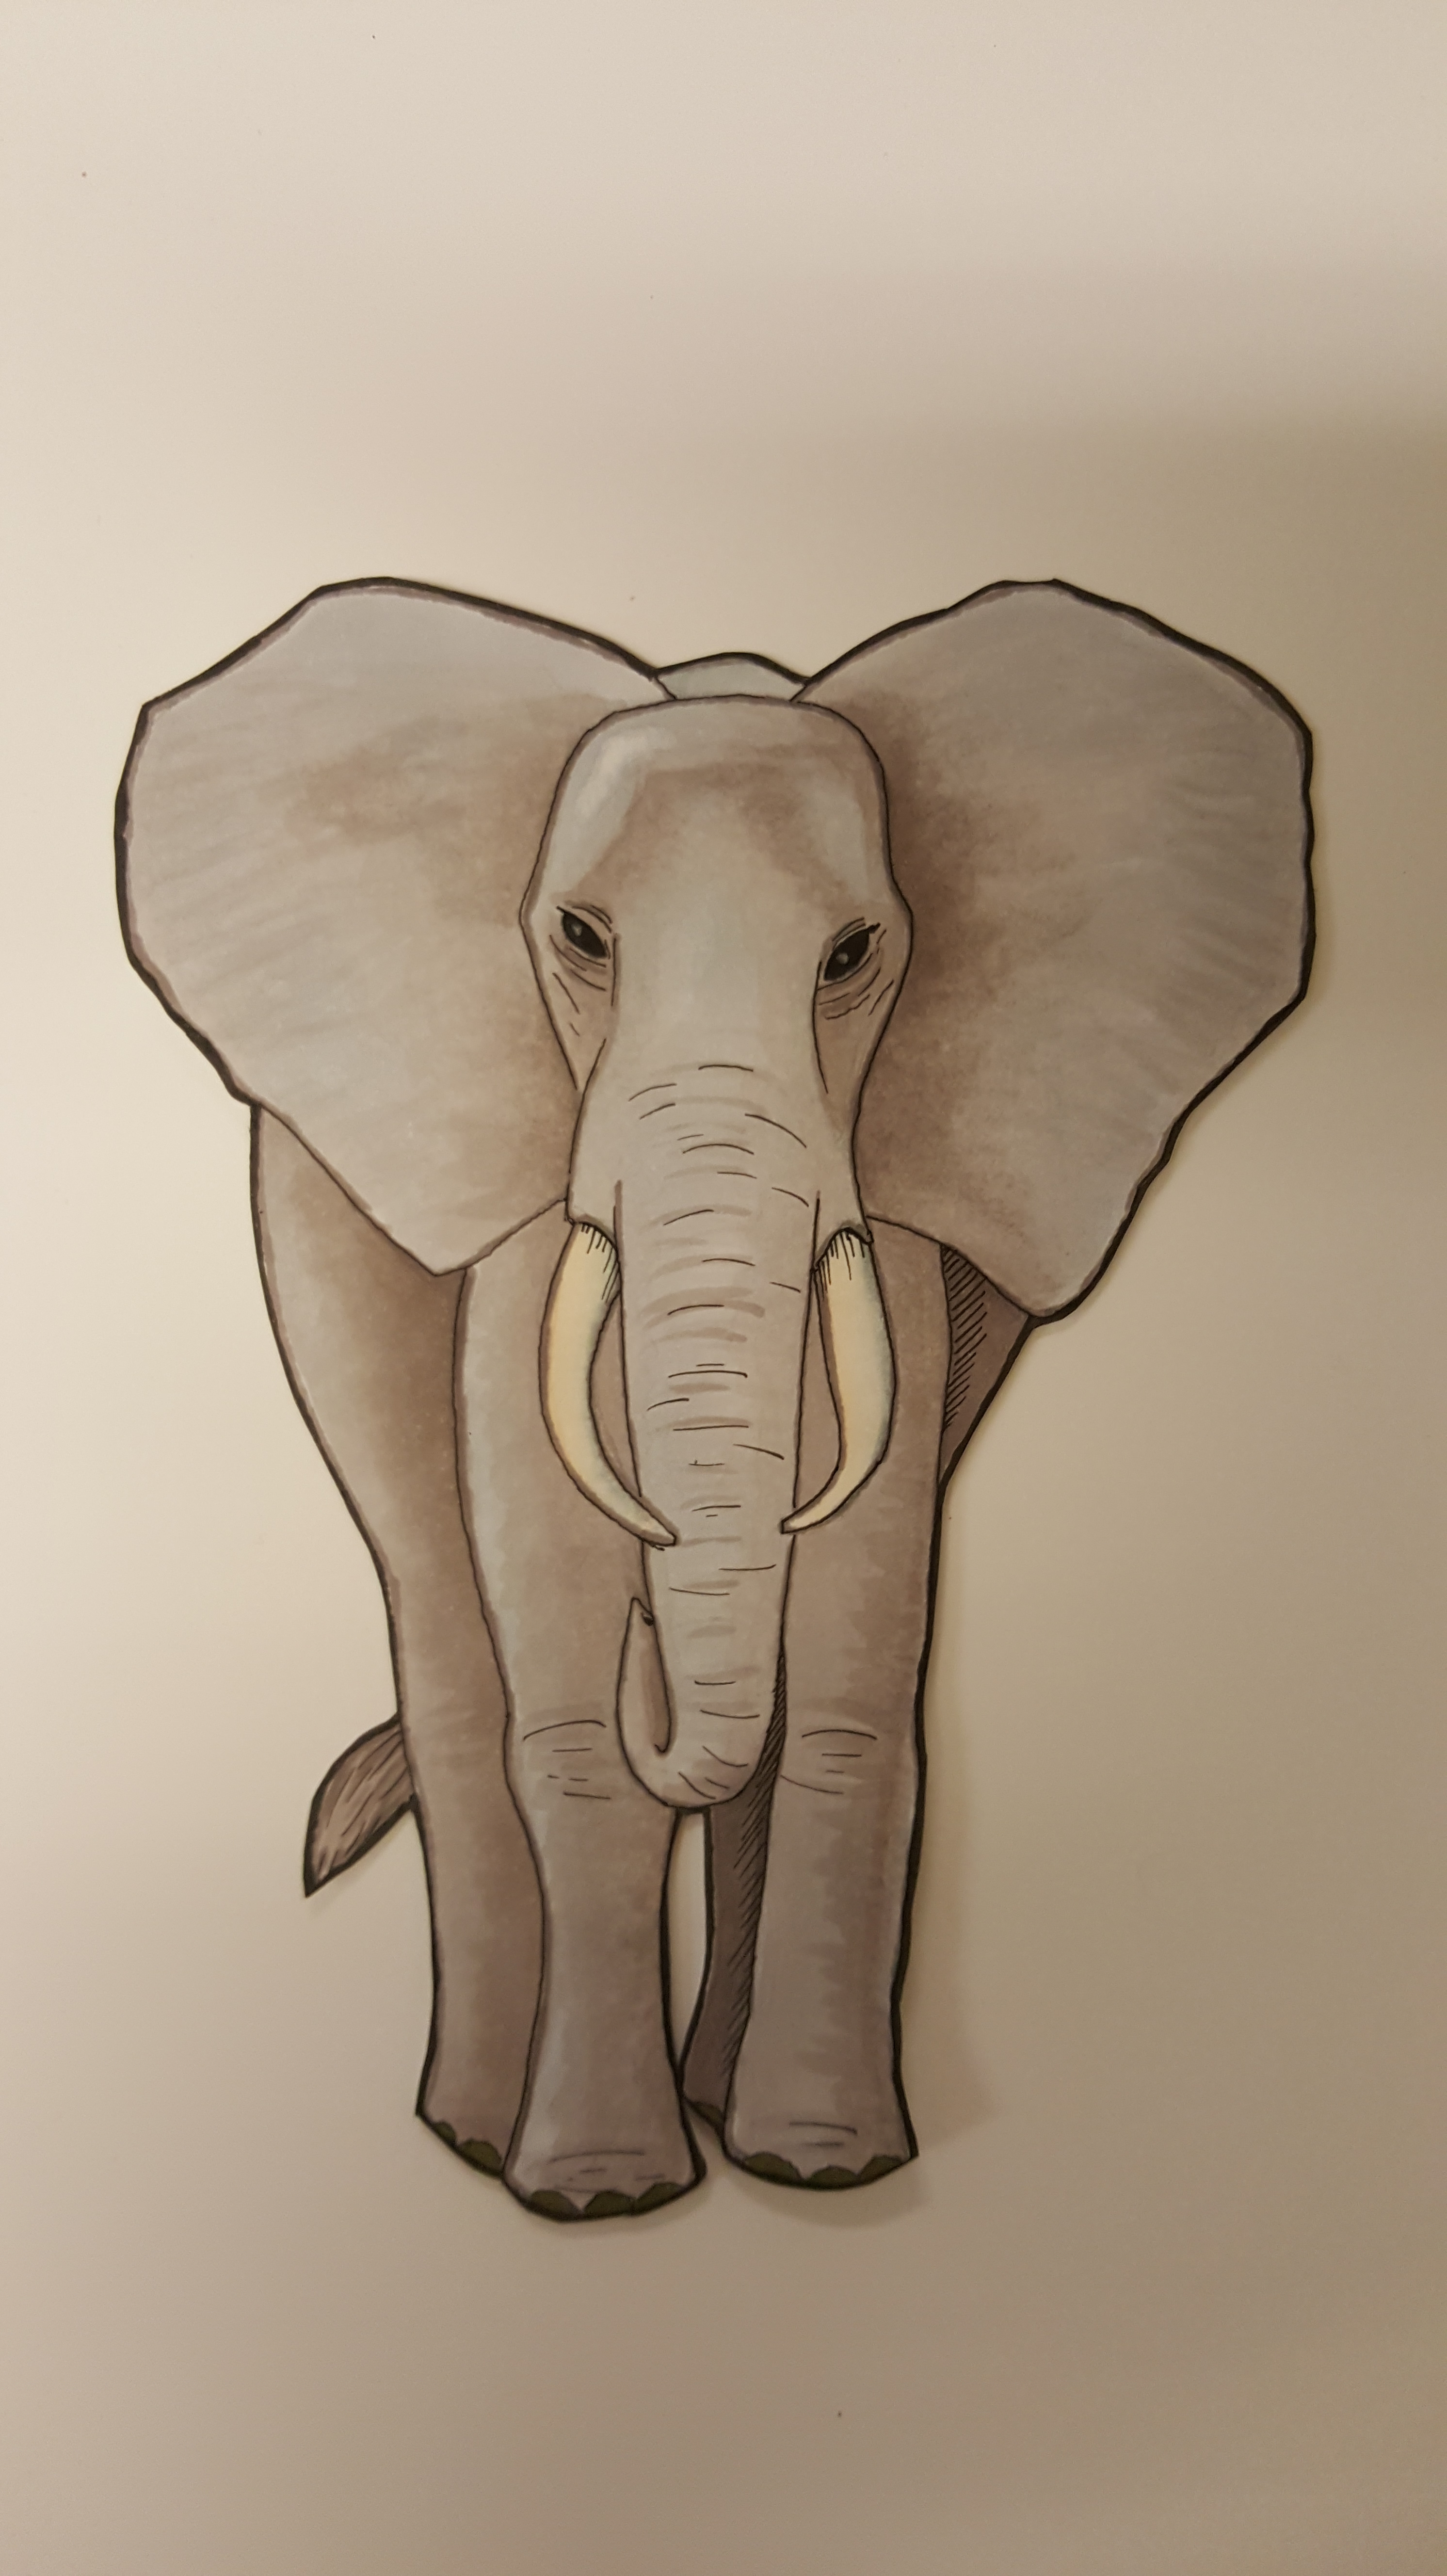
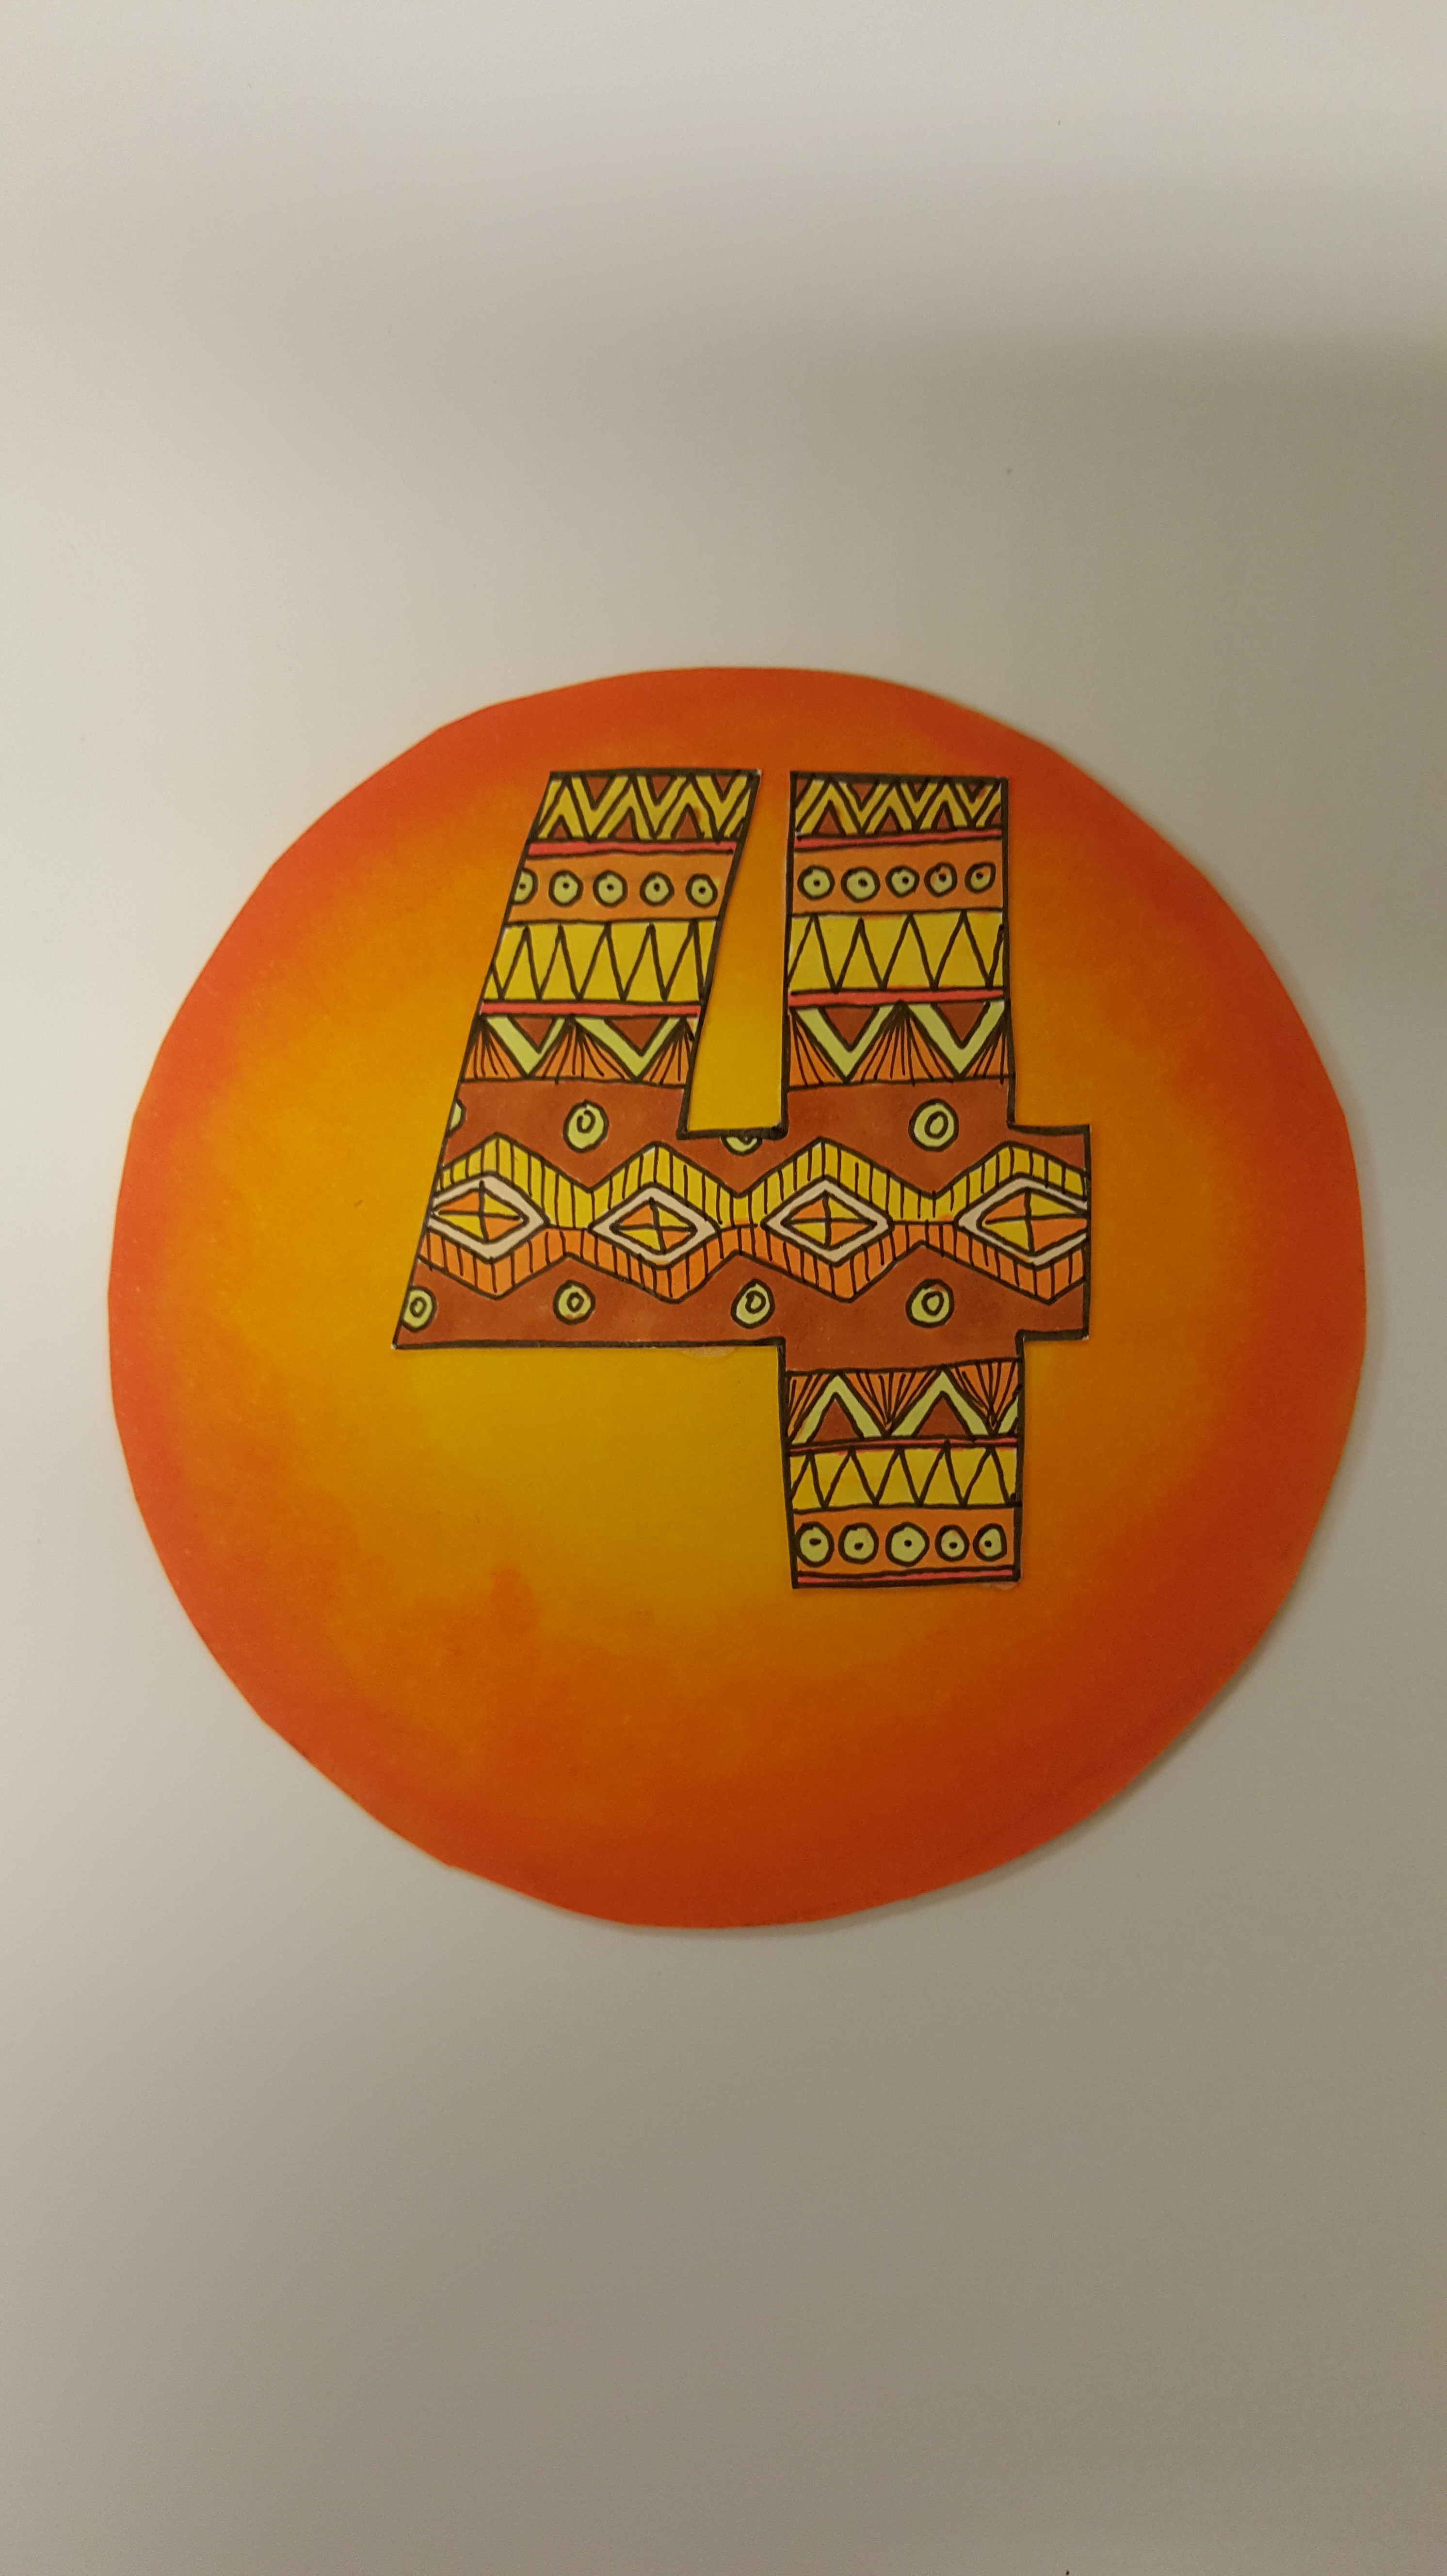
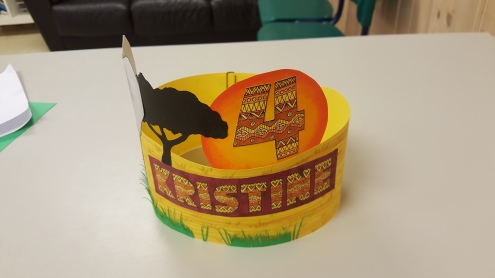
For the name and age I imagined something based on african tribal patterns, and after googling a little I ended up with this:
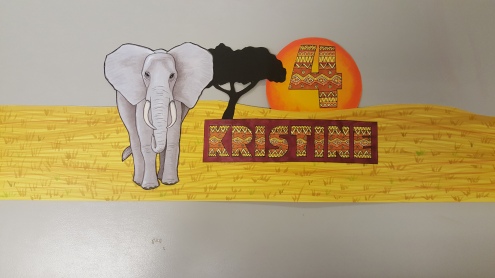
Using a yellow piece of cardboard uses some light gray, green and yellow markers to draw some grass. I also used some black cardboard and cut out a black tree-shape, and then started gluing it all together into a cohesive whole.
I could have left it there, but remembering an older dino-themed crown I did a few years ago I decided to add a little extra, namely grass. Using green cardboard and a scissor I carefully cut out small tufts of grass that I glued to the bottom.
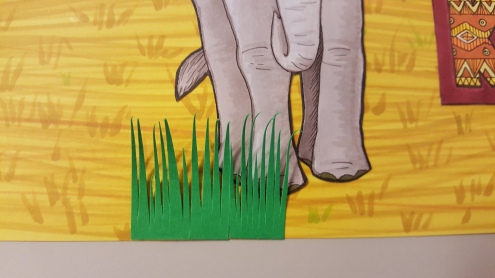
Once done I turned the edges back on themselves and attached to each other.
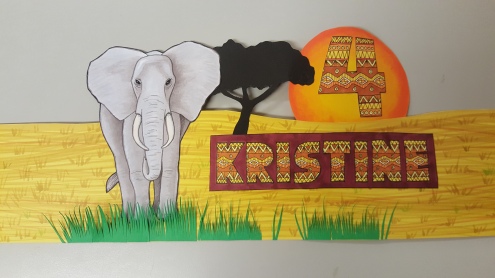
And here you can see the finished crown in all its elephantine glory.
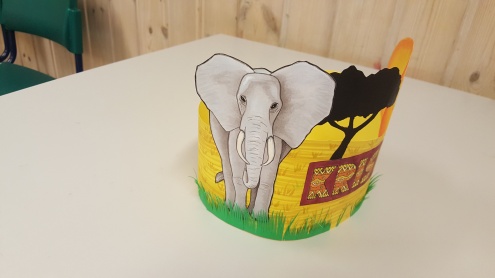
I love these markers. :)
Hello [insert name]
Hello one and all. Another day, another project. And like so many before this one it’s a birthday crown for one of the kids at my kindergarten.
This little girl really likes Hello Kitty. Beats me why, but she does. So that’s what I made. I was a bit rushed for time, so the colors were made quick and dirty with my CretaColor aquarell pencils.

There’s yet another birthday on Friday that I’m going to make a crown for, but I’ll have to do so tomorrow since I have a short vacation starting this Wednesday (Yay!!!) and must get it done before then.
And what will that crown feature? Eeyore!

Dance with me
Yesterday I ventured into unknown territory, or at the very least unfamiliar territory; Anatomy!
I’ve read quite a bit about it and looked at a lot of examples and tutorials, but whenever I put pen to paper I can never get it 100% right.
I know, I know… Just a sign that I need to practice more.
Anyways, yet another birthday crown at the kindergarten, and this time the girl of the day wanted a ballerina (or as she put it, “a dancing-lady”). A great opportunity to try out my middling skills in anatomy!
The first thing I did was scouring google for some ballerina images. I settled on these three for a combination of pose, dress and position of feet.


The first thing I did was lightly sketching out the general shapes, erasing and redrawing as needed.

The next step was to add some details. I decided to keep the face and hair relatively simple, focusing more on the dress itself.

Next up was inking with my trusty Pentel brush pen. It’s starting to get a little shabby, poor thing, but still gets the job done.

Once the ink had dried I erased the pencil lines and gathered my painting materials. I had left my watercolor pencils at home so I had to use the paint available at the kindergarten; huge blocks of paint the size of my palm, only found in primary colors, white and black.
Still, I managed to find a relatively pleasing color scheme.

As you can see I’ve spilled outside a few places. I could have avoided that quite easily, but since I knew I was going to cut out the figure I just couldn’t be bothered. Saved me a few seconds.

And here’s the finished woman, ready to glue onto the birthday crown.
So, what do I think of the result?
I’m generally pleased with it. I feel I got the pose right, and I’m happy with the wrinkles and shading on the costume.
Not that crazy about the raised arm though. After I had it inked I saw more easily that arm being longer than the one going downwards. I’m also a bit unsure of whether she has a too small head or too long neck.
Oh well, minor niggles. All in all I made a valiant effort and think I got it mostly right.
Birthday crowns
Yesterday one of the small girls at my job had birthday, turning five years old. She’s a small, blonde and pretty girlie-girl. You know the kind, a real little princess; Or at least she WANT to be one.
Anyway, when asked what she wanted as a decoration on her crown she said only one world: “Pony!”
I have to admit that animal anatomy isn’t really my strong suite, so I sought inspiration from the more cartoony side of life. I recently heard about “My Little Pony: Friendship is magic” from some of my friends. These are grown men around 30 years of age, and they practically gushed about it! Maked my kind of scared to check it out if a series about pastel ponies can elicit such adoration from grown men! Ô_Ô
With that conversation strong in mind I did a google image-search and found a pony I guessed she’d fall in love with, a pink and purple little thing. Don’t know her name or anything, but I decided to use that as a central focus. Here’s the main piece in all it’s not so glorious stages.


I glued this piece of paper to a cardboard crown I had cut out, and then glued some glittery stuff onto some strips of glue. I loathe that stuff because it tend to go into every imaginable crack and crevice (even one’s you didn’t know about), but the kid insisted.

In related news, do you remember the topic about the Rapunzel crown?
I just realized that I hadn’t shown you the finished product. Let’s start with the lettering…


I also coplained about the bump on her head that was supposed to be an ear. I used some ink to make two short lines, and it turned out rather passable. Sorry for the blurryness.

And here’s the final result…

