Elephantastic markers
Hello again, and sorry for the long hiatus. It’s been nearly two and a half years since I last updated this blog. Sorry to the few loyal followers I have/had, but life happened and things escalated and the blog ended up in the big space waaaay back in my brain where lost thoughts so to die.
Then, yesterday I suddenly thought of it again, even if indirectly. You see, at my kindergarten we have have a few students working with us at the time, and during a conversation about projects we’ve done with kids I remembered my train-montage and went online looking for it… Ending here.
Last night I ended up thinking a lot about the blog and decided to give it another go. I don’t know how often I’ll post or how regularly, but I’ll give it a whirl.
A while ago a good friend of mine introduced me to some Shinhan Touch markers. I liked then so well that I bought a set of their Touch Brush markers. They are rather similiar to Copic markers in that they have abrush-like tip on one end and a chisel tip at the other end.
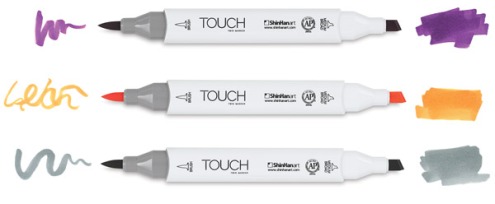
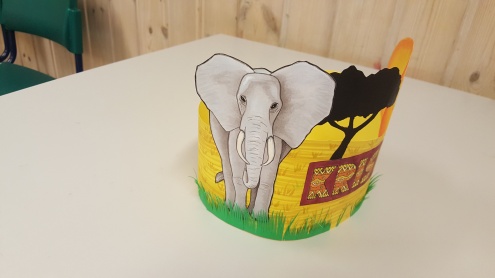
I’ve played a little around with them, but nothing serious. So when a girl at my kindergarten asked for a birthday crown with an elephant on it I decided to give it a serious test.
I started by findin a picture of an elephant to use as a reference. I then lightly sketched the basic shapes with an HB pencil and started filling it out with a light shade of cool gray. I then went over with gradually darker shades of warm gray to build up the values.
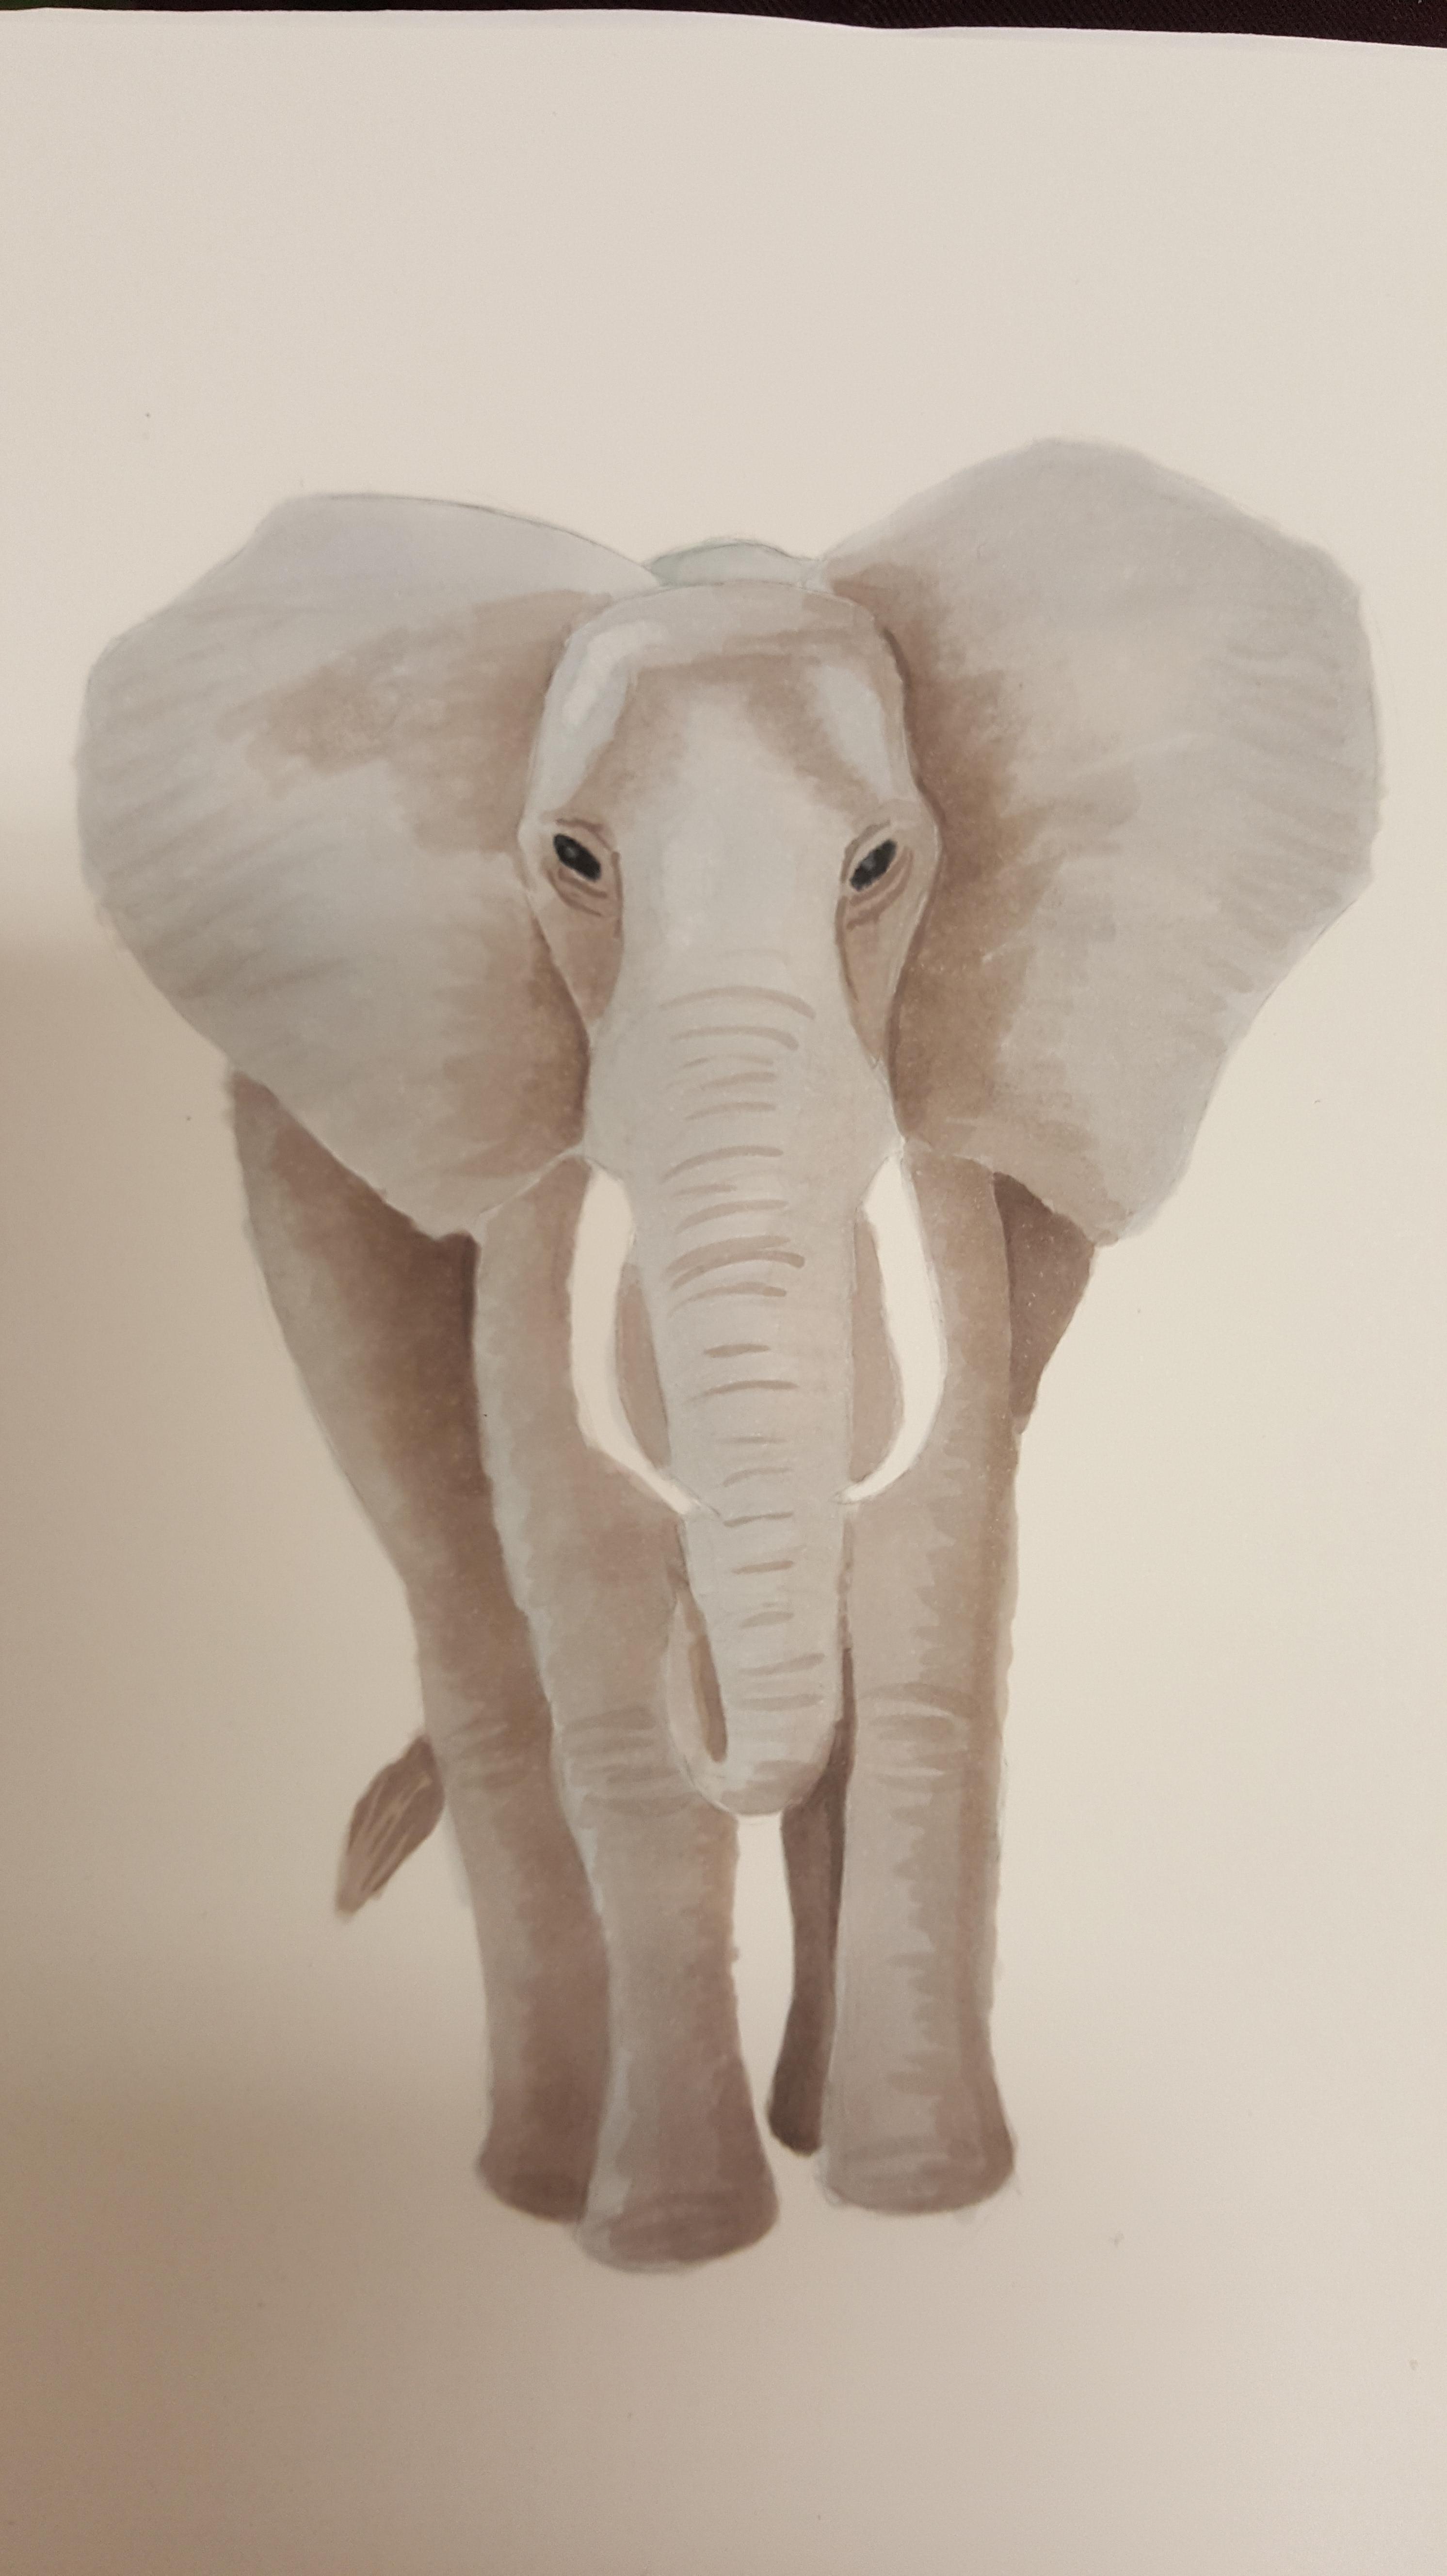
As the image grew darker and got more contrast I started using a very thin fineliner to add some details and create some transitions. I then used a set of sharp scissors to cut it out.
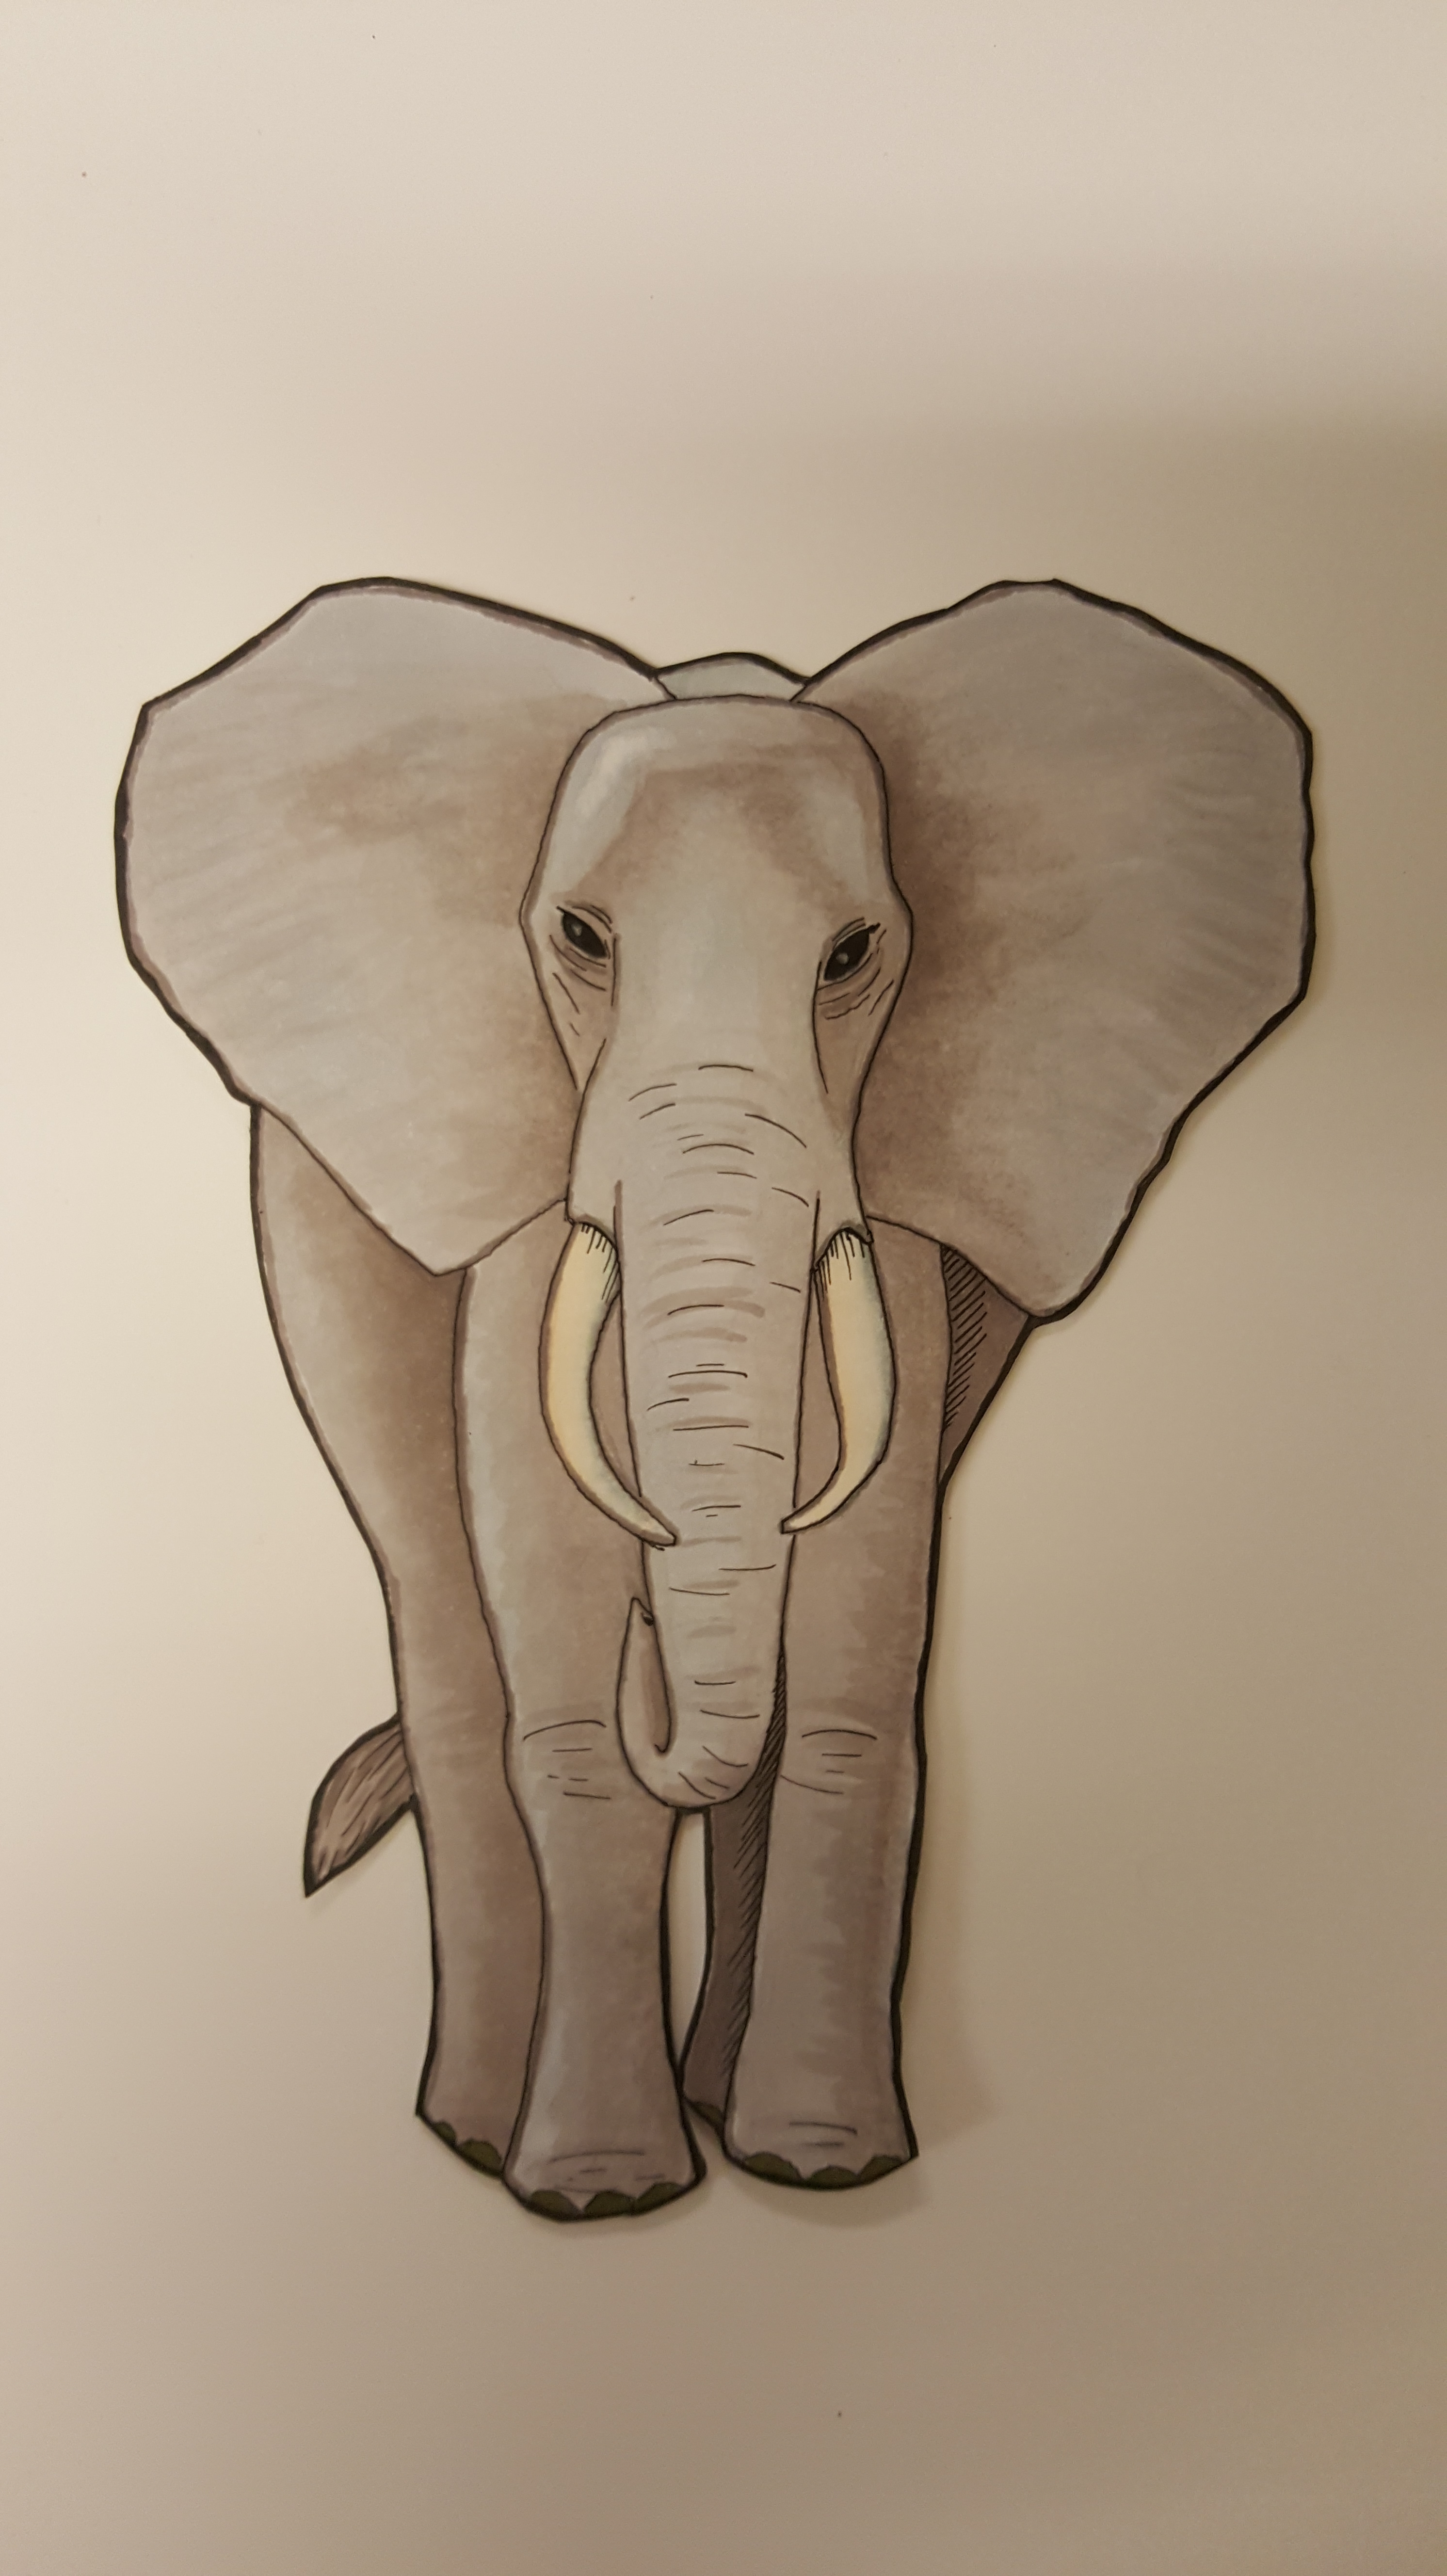
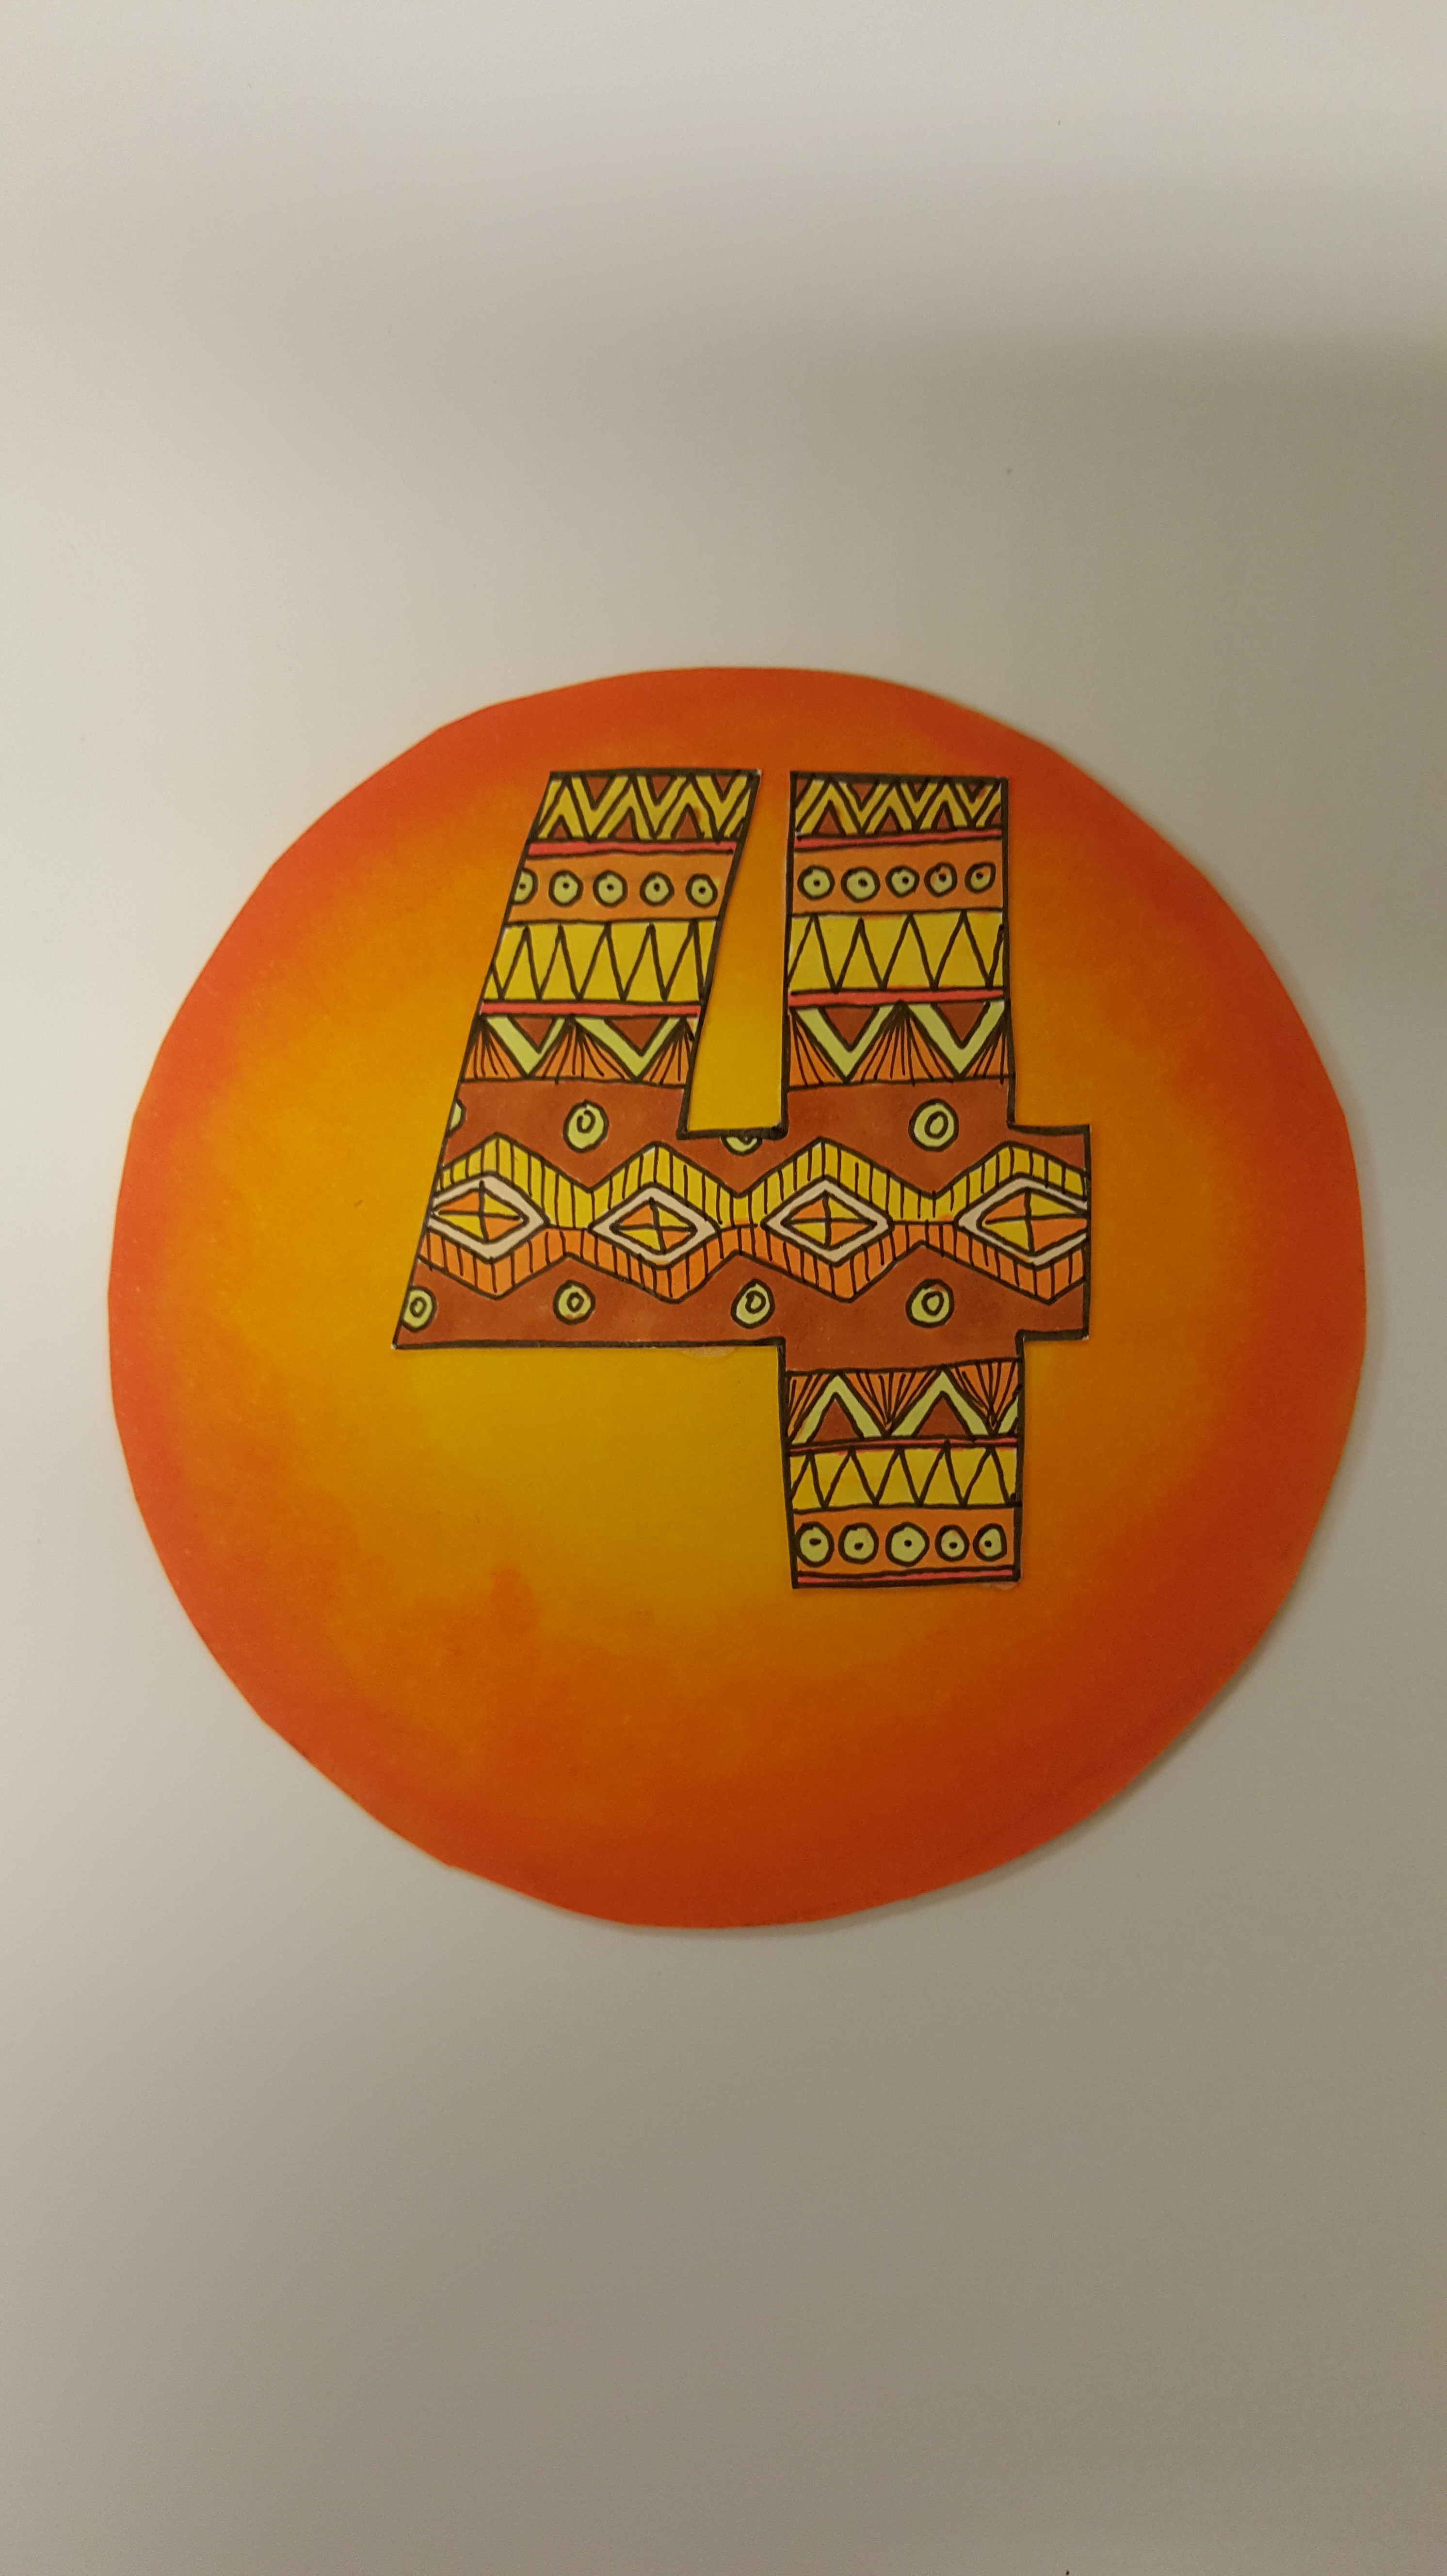
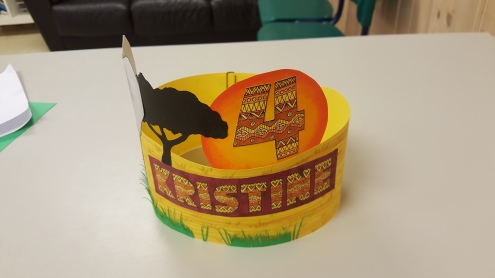
For the name and age I imagined something based on african tribal patterns, and after googling a little I ended up with this:
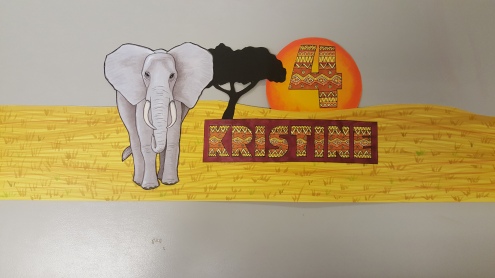
Using a yellow piece of cardboard uses some light gray, green and yellow markers to draw some grass. I also used some black cardboard and cut out a black tree-shape, and then started gluing it all together into a cohesive whole.
I could have left it there, but remembering an older dino-themed crown I did a few years ago I decided to add a little extra, namely grass. Using green cardboard and a scissor I carefully cut out small tufts of grass that I glued to the bottom.
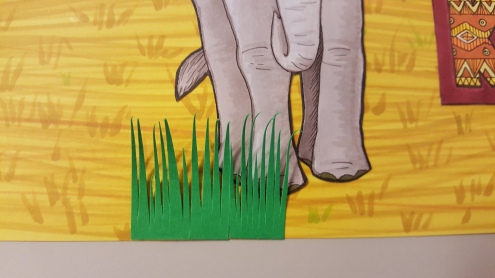
Once done I turned the edges back on themselves and attached to each other.
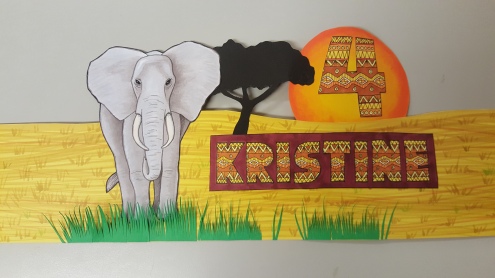
And here you can see the finished crown in all its elephantine glory.
I love these markers. :)
Taking a nap…
A few days ago I mentioned that I wanted to make a comic using watercolors, and last evening I started doing the sketching. I decided on a continuation of my Daycare comics, and the idea popped into my head after only a few minutes of brainstorming.
Here you go, hope you enjoy! ^_^

The inking is slightly rushed, but I wanted to get to the coloring process. The whole thing went rather smoothly, and with mimimal bleeding of colors. The paper didn’t warp noticably either, not after the water had dried.
The only downside what that the pencils themself have a tendency to slightly smudge the ink. Might be because I only allowed it 30 minutes to dry? Will definitely try this again, and then allow a few hours of drying time fefore applying the pencils.
Tools of the trade
As any artist worth his salt knows, you can’t paint without tools. What tools you do use depends entirely on what you try to achieve. Here’s a little insight into what I use to draw my comics.

Here’s what I use to get lines down on the paper, black Indian ink. I pour a little into an old eggholder that I use to dip my brushes and nibs into, and pour back what’s not used afterward. Saves a lot of gummed and driedup ink gathering in the ink-bottle.
To the right is some white acrylic I use to cover up tiny mistakes. It’s a little too runny and fluid for my taste, so I should probably invest in some white gouache or Deleter White 2.

Next up is a few of my nib-holders. I prefer the long wooden one, seems to have great ballance. The yellowish short one is more suited for writing than for drawing. And on the bottom… Not a nibholder at all.
Here’s a little tip: If you have some Pitt-pens and they run out of ink, don’t throw them away. They serve admirably as nibholders, as you can see here. ;)

These are the nibs I mainly use.
The upper one is a “Brause extra fine point”, also known as an “arrow point”. It’s extremely flexible and have a linewidth that range from between a fraction of a millimeter to 3 mm thick. Holds a lot of ink despite it’s size. It’s what I use for the majority of Darwyn.
The lower one, a “Brause Steno” is less flexible, but has an excellent ink capacity. I use it mainly to write lettering.

Here’s a little more advanced set of tools… ;)
The top one is a flat squared brush that I se to fill in large areas of ink (you see it from the side in this picture). The yellow brush I use for linework, and the fat one on the botton is reserved for watercolors. I also have a few old, ruined brushes that I se with the white acrylic to cover up mistakes.

You didn’t think I just started inking right on the paper with no preparation, did you? Of course not…
This here’s a right regular eraser. Perhaps a bit large, but that’s the way I like’em. A little soft too.
The mechanical pencil there uses 0.5mm lead, usually hardness H or 2H, I use to sketch out the drawings before I ink over them. Mind you, I always sketch out rough thumbnails on cheap office-paper first, to get composition and such right before I start sketching on the final sheet of paper.
The marker’s used, along with a ruler, to draw the panel borders.

And here’s a Windsor & Newton watercolor starter set. It came with these 12 colors, as well as the small, collapsible brush you can see in there. I also have this small palette-dish that I use for mixing colors (cost about $1). I’m far from proficient with watercolors, but I occationally get the urge to try it out.

Finally, there’s no use for all these other tools without something to use them ON; Paper.
Or bristol board, to be spesific. I use this type, with an extremely smooth surface, almost no texture to it at all. That prevents the nibs from “biting” into the paper, and gives me a really smooth line. Might not be your cup o’ tea, but I love it.
Watch me draw #2
Also known as “Yaaaaawn”.
That’s right, YouTube has allowed my account to upload videos longer than 15 minutes, so here’s the one I took a few days ago. Be warned though, it’s 38 minutes long. Might not be your cup of tea if you get twitchy after waiting in line at the store for only one minute.
I’ll try to figure out how to timelapse these things for later videos. If any of you have hints, tips and experience, please let me know. By the by, it was originally a MOV file, in case that has any bearing on things.
View in fullscreen for HD quality…
Open Sesame!
Here’s perhaps a little clue as to why the Barkling ran away in the last installment of Darwyn.

While I’ve been sketching on officepapersfor the past two days, I only started drawing on the bristol paper today. Here’s a rough estimate of how much time it took:
Penciling: 1 hour
Inking: 45 minutes
Scanning & image preparation: 30 minutes
Coloring: 2,5 hours
Total: 4 hours 45 minutes
That’s NOT included all the time spent thinking of image composition and layout (triple or quadruple to get the final number).
I hope you’ve had as much fun reading it as I’ve had drawing it. :)
